Are you tired of dull and outdated outlet covers that clash with your interior design? If so, you're not alone. Many homeowners and DIY enthusiasts are turning to spray paint outlet covers as an easy and cost-effective way to refresh their spaces. Spray painting outlet covers not only enhances the aesthetic appeal of your home but also allows you to personalize your decor to match your unique style. In this comprehensive guide, we'll explore everything you need to know about spray paint outlet covers, from preparation to execution and maintenance.
When it comes to home improvement projects, spray paint outlet covers offer an excellent balance between effort and impact. Unlike major renovations that require significant time and financial investment, this simple upgrade can dramatically transform the look of any room. Whether you're aiming for a modern minimalist look or a vintage-inspired aesthetic, spray painting outlet covers provides endless possibilities for customization.
Throughout this article, we'll delve into the step-by-step process of spray painting outlet covers, discuss the best materials and techniques, and provide expert tips to ensure professional-looking results. We'll also explore the environmental and safety considerations of using spray paint, helping you make informed decisions that align with both your aesthetic goals and responsible practices. By the end of this guide, you'll have all the knowledge you need to successfully tackle this DIY project and elevate your home's interior design.
Read also:Meet The Inspiring Son Of Martial Arts Icon Jet Li
Table of Contents
- Benefits of Spray Painting Outlet Covers
- Essential Preparation Steps
- Choosing the Right Materials
- Professional Spray Painting Techniques
- Safety Precautions and Best Practices
- Maintenance and Longevity Tips
- Common Mistakes to Avoid
- Cost Analysis and Budgeting
- Environmental Considerations
- Conclusion and Next Steps
Benefits of Spray Painting Outlet Covers
Spray painting outlet covers offers numerous advantages that make it an attractive option for home improvement enthusiasts. The primary benefit lies in its cost-effectiveness. Compared to replacing outlet covers entirely, spray painting provides a budget-friendly alternative that delivers similar visual impact. A single can of high-quality spray paint can cover multiple outlet covers, making it an economical choice for large-scale projects.
Another significant advantage is the level of customization it offers. With spray paint, you're not limited to standard colors or finishes available in stores. You can choose from a wide spectrum of colors, metallic finishes, and specialty effects like matte, gloss, or textured finishes. This flexibility allows you to create a cohesive look that perfectly matches your room's color scheme or decor theme.
The durability of properly applied spray paint is another compelling benefit. When using high-quality paint and following correct application techniques, the finish can last for years without chipping or fading. Modern spray paints are formulated to resist wear and tear, making them suitable for high-traffic areas. Additionally, the quick-drying nature of spray paint means you can complete your project efficiently, with minimal downtime.
Essential Preparation Steps
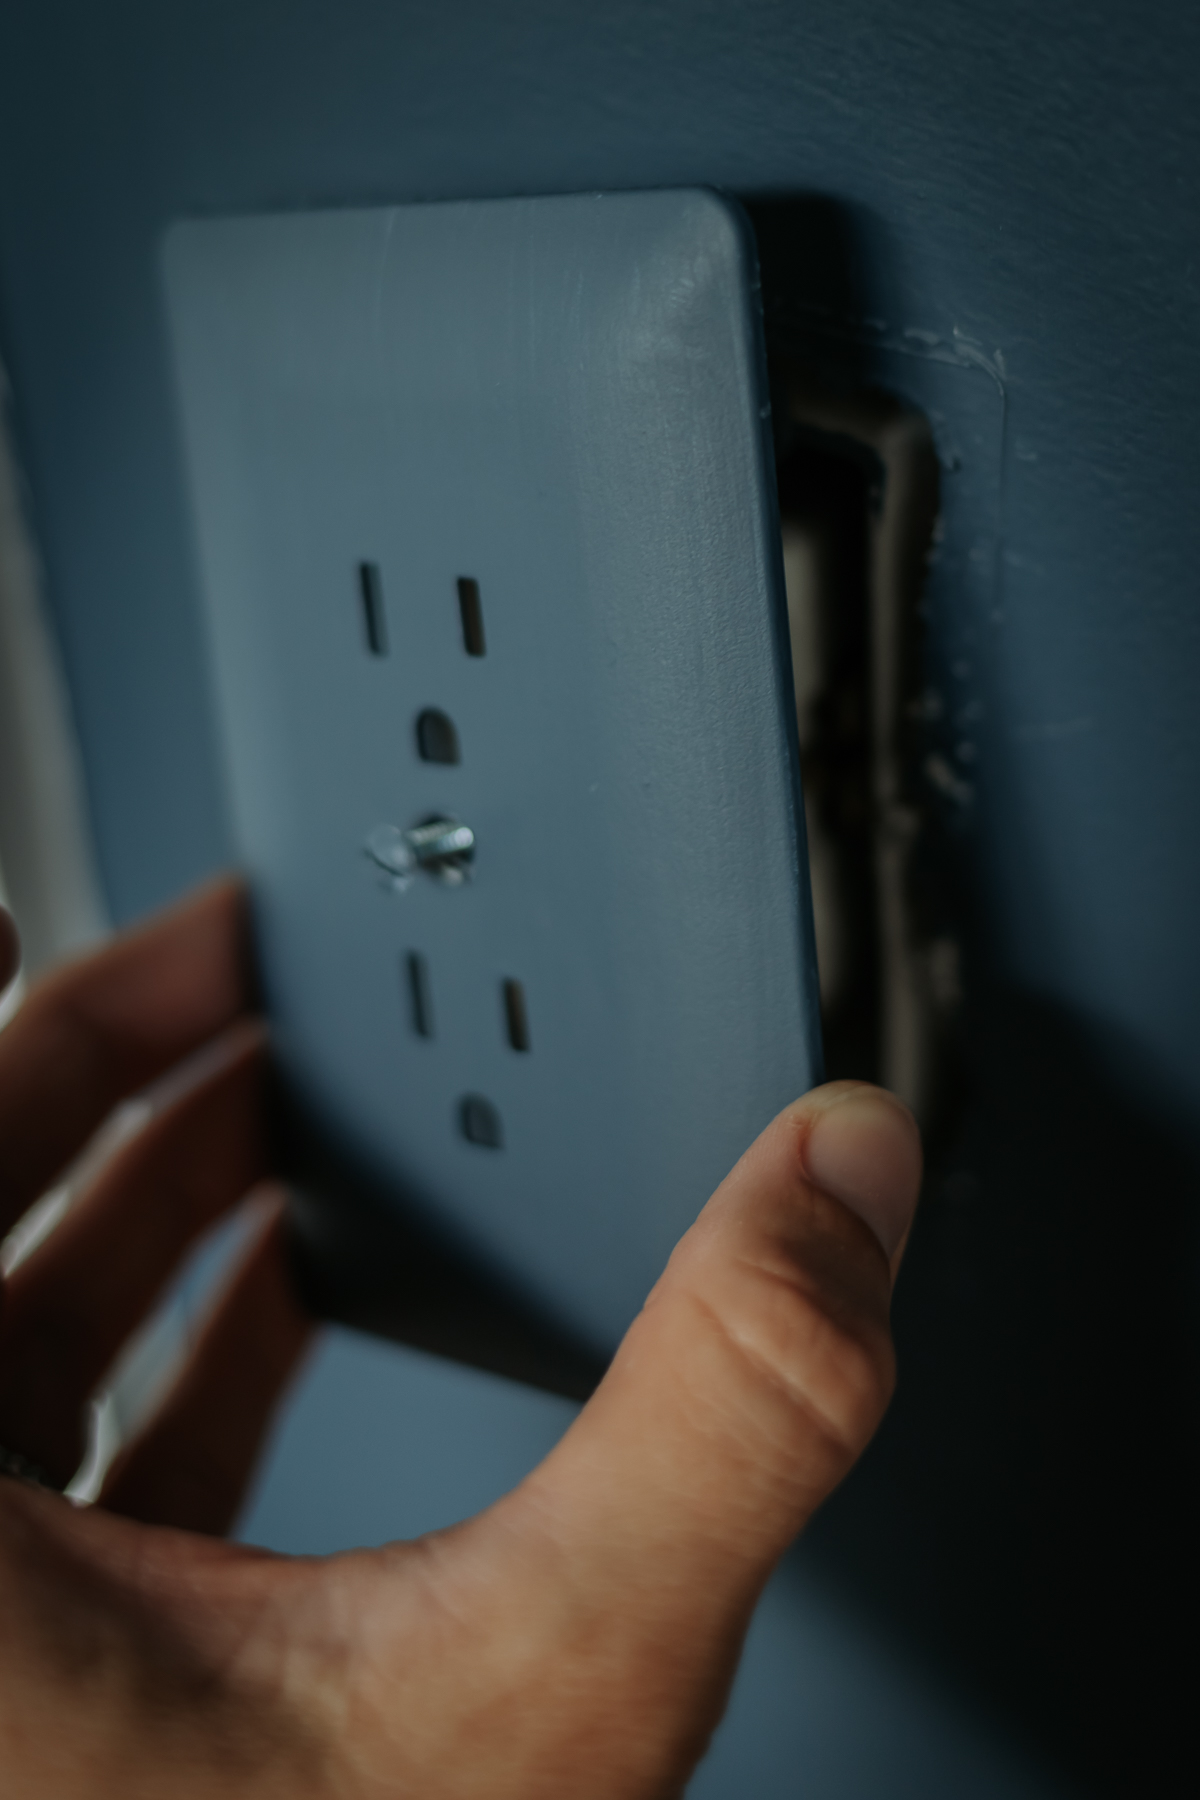
Proper preparation is crucial for achieving professional-looking results when spray painting outlet covers. The first step involves removing all outlet covers from their respective locations. This not only ensures better access for painting but also prevents accidental paint overspray on walls or electrical components. Use a screwdriver to carefully remove each cover, labeling them if necessary to remember their original positions.
Cleaning and Sanding Process
Once removed, thoroughly clean each outlet cover using mild soap and water. This step removes accumulated dust, grease, and grime that could prevent proper paint adhesion. After cleaning, lightly sand the surface with fine-grit sandpaper (220 grit recommended). Sanding creates a slightly rough surface that helps the paint adhere better while maintaining the cover's original texture.
After sanding, wipe down the covers with a tack cloth or microfiber towel to remove any remaining dust particles. For optimal results, apply a primer specifically designed for plastic surfaces. This extra step ensures better paint adhesion and helps achieve a more uniform finish. Allow the primer to dry completely according to the manufacturer's instructions before proceeding to the painting stage.
Read also:The Inside Scoop On Linda Peterson Trump Her Life And Legacy
Choosing the Right Materials
Selecting appropriate materials is paramount to the success of your spray painting project. When choosing spray paint, look for products specifically formulated for plastic surfaces. These paints contain special adhesion promoters that ensure lasting results on outlet covers, which are typically made from various types of plastic.
Recommended Spray Paint Brands
- Krylon Fusion for Plastic
- Rust-Oleum Painter's Touch Ultra Cover
- Montana Gold Acrylic Spray Paint
- Plasti Dip Spray
- Dupli-Color Vinyl & Fabric Coating
Each of these brands offers unique advantages. Krylon Fusion, for instance, provides excellent adhesion without requiring a primer, while Montana Gold offers professional-grade results with a wide color selection. Consider your specific project requirements, including desired finish, durability needs, and budget constraints when making your selection.
Professional Spray Painting Techniques
Mastering proper spray painting techniques is essential for achieving smooth, professional results. Begin by setting up a well-ventilated spray painting area, preferably outdoors or in a dedicated spray booth. Lay down protective covering such as drop cloths or cardboard to protect surrounding surfaces from overspray.
Step-by-Step Application Process
- Hold the spray can approximately 6-8 inches away from the surface
- Use smooth, sweeping motions while spraying
- Apply multiple thin coats rather than one heavy coat
- Allow at least 5-10 minutes between coats for proper drying
- Rotate the outlet covers to ensure even coverage on all sides
Pay special attention to edges and corners, as these areas often require additional attention to achieve complete coverage. Avoid over-saturating the surface, as this can lead to drips or uneven drying. Professional painters recommend maintaining consistent pressure on the spray nozzle and keeping the can in constant motion to prevent paint buildup.
Safety Precautions and Best Practices
When working with spray paint, safety should always be a top priority. Begin by wearing appropriate personal protective equipment (PPE), including safety goggles, respiratory mask, and gloves. These precautions protect you from potentially harmful fumes and overspray.
Ensure adequate ventilation in your workspace by using fans or working in open-air environments. Never spray paint in confined spaces or near open flames, as spray paint fumes are highly flammable. Store spray paint cans in a cool, dry place away from direct sunlight and heat sources. After completing your project, properly dispose of any remaining paint and cleaning materials according to local regulations.
Maintenance and Longevity Tips
To ensure your spray-painted outlet covers maintain their appearance over time, regular maintenance is essential. Avoid using harsh chemical cleaners that could damage the paint finish. Instead, opt for mild soap and water when cleaning around outlets. Consider applying a clear protective coating after the paint has fully cured to enhance durability and resistance to scratches.
Inspect your outlet covers periodically for signs of wear or chipping. Touch up any affected areas promptly using the same paint to prevent further damage. When removing outlet covers for cleaning or maintenance, handle them carefully to avoid scratching the painted surface. These simple maintenance practices can significantly extend the lifespan of your spray-painted outlet covers.
Common Mistakes to Avoid
Even experienced DIY enthusiasts can fall prey to common mistakes when spray painting outlet covers. One frequent error is applying paint directly to dirty or unprepared surfaces, resulting in poor adhesion and premature peeling. Another common mistake is using too much paint in a single application, leading to drips and uneven coverage.
Preventing Common Issues
- Always clean and sand surfaces before painting
- Avoid painting in high-humidity conditions
- Use multiple thin coats rather than one thick coat
- Maintain consistent distance between the spray can and surface
- Allow adequate drying time between coats
Another crucial consideration is selecting the right type of paint for the specific material of your outlet covers. Using paint not designed for plastic surfaces can result in cracking or peeling over time. Additionally, rushing the drying process or handling freshly painted covers too soon can compromise the finish quality.
Cost Analysis and Budgeting
Understanding the cost implications of spray painting outlet covers helps in making informed decisions about your home improvement project. The average cost of a high-quality spray paint can ranges from $5 to $15, with each can typically covering 10-15 outlet covers. Additional costs include primer (if needed), sandpaper, cleaning supplies, and protective equipment, bringing the total investment to approximately $20-$50 for a complete home renovation.
When compared to replacing outlet covers entirely, which can cost $1-$5 per cover plus installation time, spray painting offers significant savings. The table below illustrates the cost comparison for a typical home with 20 outlet covers:
| Option | Initial Cost | Additional Costs | Total Investment |
|---|---|---|---|
| Spray Painting | $20-$50 | $10-$20 (supplies) | $30-$70 |
| Replacement | $20-$100 | $10-$30 (tools/installation) | $30-$130 |
These figures demonstrate the cost-effectiveness of spray painting, particularly for larger projects or when custom finishes are desired.
Environmental Considerations
While spray painting outlet covers offers numerous benefits, it's important to consider its environmental impact. Modern spray paints have made significant advancements in eco-friendliness, with many brands offering low-VOC (volatile organic compound) formulations that reduce harmful emissions. When selecting spray paint, look for products certified by environmental organizations or those labeled as eco-friendly.
Implement proper waste management practices by recycling empty spray cans according to local regulations. Consider using water-based spray paints when possible, as they typically have lower environmental impact compared to solvent-based alternatives. Additionally, minimize overspray by using spray booths or cardboard shields, reducing unnecessary paint waste.
Conclusion and Next Steps
Spray painting outlet covers presents an excellent opportunity to enhance your home's aesthetic appeal while exercising your creativity. Throughout this guide, we've explored the numerous benefits of this DIY project, from its cost-effectiveness to the wide range of customization possibilities. We've covered essential preparation steps, material selection, professional techniques, and important safety considerations to ensure successful results.
Now that you're equipped with comprehensive knowledge about spray paint outlet covers, it's time to take action. Gather your materials, set up your workspace, and start transforming your outlet covers into design elements that complement your home's decor. Remember to follow proper safety protocols and maintenance practices to ensure long-lasting results.
We'd love to hear about your experiences and see your creative transformations. Share your before-and-after photos in the comments section below, or reach out with any questions you might have about the process. For more home improvement tips and DIY project ideas, explore our other articles and join our community of creative homeowners.