Table of Contents
Introduction
Plum ombre nails have become a go-to choice for those who want to add a touch of elegance and sophistication to their look. This unique nail art technique combines the rich, deep tones of plum with a gradient effect that transitions seamlessly from light to dark. Whether you're attending a special event or simply want to elevate your everyday style, plum ombre nails are a versatile and chic option. In this article, we will explore everything you need to know about this trending nail art, including how to achieve it, tools and materials required, and tips for maintaining your manicure.
The popularity of plum ombre nails can be attributed to their ability to complement a wide range of skin tones and outfits. Plum, a color that blends purple and red undertones, is universally flattering and adds a subtle pop of color without being overwhelming. Additionally, the ombre effect creates a dynamic and eye-catching finish that is both modern and timeless. This combination makes plum ombre nails a favorite among beauty enthusiasts and professionals alike.
As we delve deeper into this article, we will provide a comprehensive guide to achieving plum ombre nails, whether you're a beginner or an experienced nail artist. We will also discuss the benefits of opting for professional services versus doing it yourself at home, as well as share tips for maintaining the longevity of your manicure. By the end of this article, you'll have all the information you need to confidently embrace this stunning nail art trend.
Read also:Joey Bragg And Audrey Whitby Still A Couple Or Just Good Friends
What Are Plum Ombre Nails?
Plum ombre nails are a type of nail art that features a gradient effect using shades of plum. The ombre technique involves blending two or more colors to create a smooth transition from light to dark or vice versa. In the case of plum ombre nails, the gradient typically starts with a lighter shade of plum at the base of the nail and gradually darkens towards the tip. This creates a striking visual effect that is both elegant and modern.
The ombre effect can be achieved using various methods, such as sponge blending, airbrushing, or layering polish with a brush. Plum, as a color, is particularly well-suited for this technique because of its depth and richness. It can range from soft lavender tones to deep, almost black hues, allowing for endless creativity and customization. Whether you prefer a subtle gradient or a bold contrast, plum ombre nails offer a versatile canvas for self-expression.
Why Plum?
- Versatility: Plum complements a wide range of skin tones and can be paired with both casual and formal outfits.
- Elegance: The rich, jewel-like tones of plum add a touch of sophistication to any look.
- Trendiness: Plum has been a popular color in fashion and beauty for years, making it a timeless choice.
Why Plum Ombre Nails Are Trending
Plum ombre nails have gained immense popularity in recent years, thanks to their ability to combine elegance with modernity. This trend has been embraced by celebrities, influencers, and beauty enthusiasts worldwide, making it a staple in the nail art community. The rise of social media platforms like Instagram and Pinterest has also played a significant role in popularizing this look, as users share their stunning creations and inspire others to try it for themselves.
One of the reasons plum ombre nails are so appealing is their versatility. They can be customized to suit any occasion, from casual outings to formal events. For example, a subtle gradient with soft, muted tones is perfect for everyday wear, while a bold, high-contrast ombre effect can make a statement at a special occasion. Additionally, the ombre technique allows for endless creativity, as you can experiment with different shades of plum or even incorporate other colors like gold, silver, or nude for added dimension.
Statistics and Trends
- Search Volume: According to Google Trends, searches for "plum ombre nails" have increased by 40% over the past year.
- Social Media Impact: Instagram posts tagged with #PlumOmbreNails have garnered over 500,000 likes and comments combined.
- Professional Demand: Nail salons report a 30% increase in requests for ombre nail designs, with plum being one of the most requested colors.
How to Achieve Plum Ombre Nails
Creating plum ombre nails can be a fun and rewarding experience, whether you choose to do it yourself or visit a professional. Below, we will outline the steps to achieve this stunning look, along with the tools and materials you'll need.
Tools and Materials
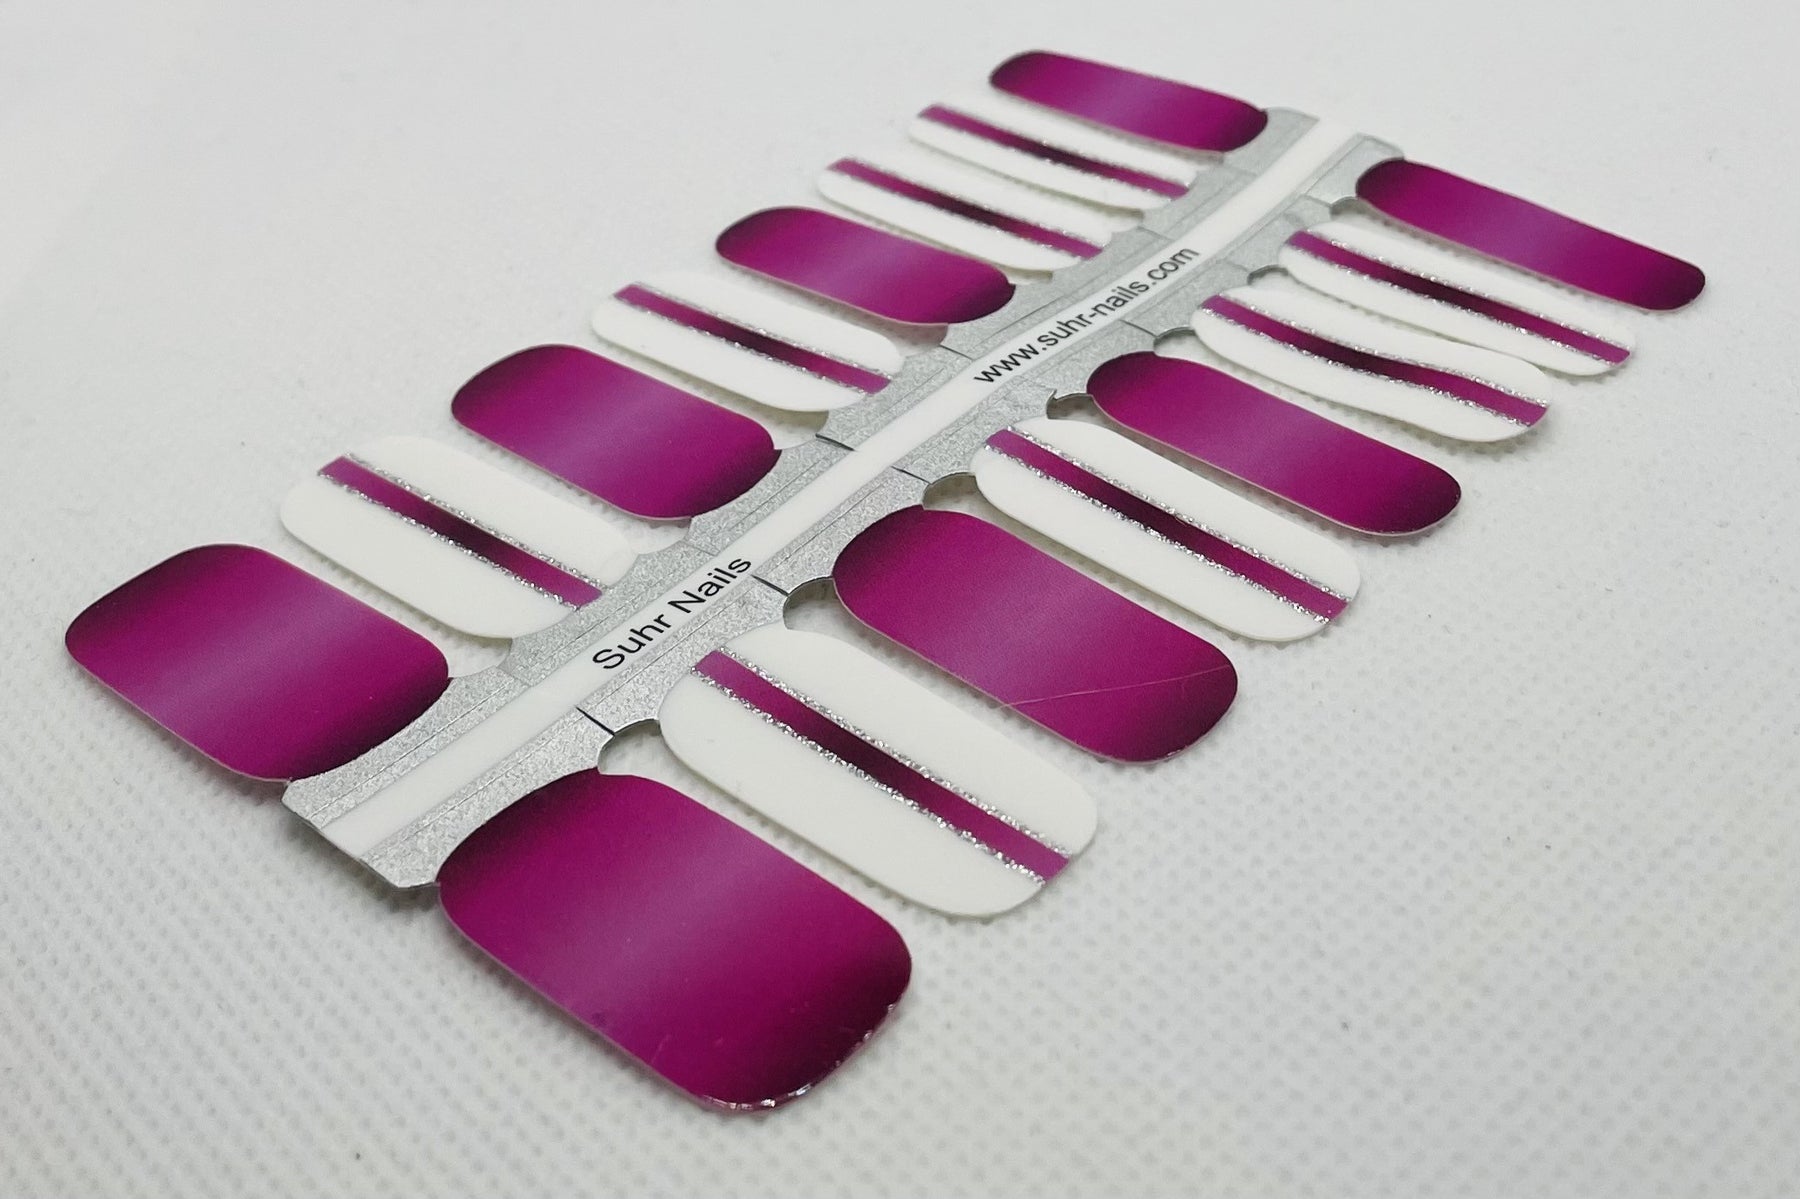
- Nail Polish: You'll need at least two shades of plum polish—one light and one dark. Consider adding a third shade for a more complex gradient.
- Sponge: A makeup sponge or a dedicated nail art sponge is essential for blending the colors.
- Base Coat and Top Coat: These are crucial for protecting your nails and ensuring a smooth, long-lasting finish.
- Nail Brushes: Small brushes are useful for cleaning up edges and adding details.
- Optional Accessories: Nail stickers, glitter, or rhinestones can be used to enhance the design.
Step-by-Step Tutorial
- Prepare Your Nails: Start by cleaning and shaping your nails. Apply a base coat to protect your nails and ensure smooth polish application.
- Apply the Base Color: Use the lighter shade of plum as your base color. Apply two thin coats for even coverage, allowing each coat to dry completely.
- Create the Gradient: Pour a small amount of the light and dark plum polishes onto a piece of foil or a palette. Dab the sponge into both colors, then gently press it onto your nail to blend the shades. Repeat until you achieve the desired gradient effect.
- Clean Up: Use a small brush dipped in nail polish remover to clean up any polish that has spread onto the skin around your nails.
- Seal the Design: Finish with a high-quality top coat to seal the design and add shine.
Professional vs. DIY Plum Ombre Nails
When it comes to achieving plum ombre nails, you have two main options: visiting a professional nail salon or doing it yourself at home. Each option has its pros and cons, and the best choice depends on your skill level, budget, and preferences.
Read also:The Truth Behind Colin Allreds Mothers Ethnicity
Professional Services
- Advantages: Professional nail artists have the expertise and tools to create flawless ombre nails. They can also offer additional services like gel polish or nail extensions.
- Cost: Salon services can range from $30 to $80, depending on the location and complexity of the design.
- Longevity: Professional manicures often last longer, especially if gel polish is used.
DIY at Home
- Advantages: Doing it yourself is more cost-effective and allows for greater creativity and experimentation.
- Challenges: Achieving a smooth gradient can be difficult for beginners, and the process may take longer.
- Tips for Success: Practice on a piece of foil or fake nails before attempting the design on your own nails.
Maintenance and Care for Plum Ombre Nails
To ensure your plum ombre nails stay looking fresh and vibrant, proper maintenance and care are essential. Here are some tips to help you extend the life of your manicure:
- Moisturize: Regularly apply cuticle oil or hand cream to keep your nails and surrounding skin hydrated.
- Avoid Harsh Chemicals: Wear gloves when doing household chores to protect your nails from damage.
- Touch-Ups: If you notice chipping, use a small brush to apply a thin layer of polish and seal it with a top coat.
- Limit Water Exposure: Prolonged exposure to water can cause polish to lift or chip, so try to keep your hands dry when possible.
Common Mistakes to Avoid
While creating plum ombre nails, there are several common mistakes that can affect the final result. Being aware of these pitfalls can help you achieve a flawless design:
- Overloading the Sponge: Using too much polish on the sponge can lead to streaks or uneven blending.
- Skipping the Base Coat: A base coat is essential for protecting your nails and ensuring smooth polish application.
- Rushing the Process: Allow each layer of polish to dry completely before moving on to the next step to avoid smudging.
- Using Low-Quality Products: Invest in high-quality polish and tools to achieve the best results.
Inspiration and Ideas for Plum Ombre Nails
If you're looking for inspiration to take your plum ombre nails to the next level, here are some ideas to consider:
- Glitter Accents: Add a touch of sparkle by incorporating glitter polish or nail art embellishments.
- Metallic Details: Use metallic polish or foil to create a luxurious finish.
- French Ombre: Combine the ombre effect with a French manicure for a chic and modern twist.
- Matte Finish: Experiment with a matte top coat for a unique and edgy look.
Conclusion
Plum ombre nails are a stunning and versatile nail art trend that can elevate your style and add a touch of elegance to any look. Whether you choose to visit a professional or try your hand at creating this design at home, the key is to have fun and experiment with different shades and techniques. By following the tips and guidelines outlined in this article, you can achieve flawless plum ombre nails that are sure to turn heads.
We hope this guide has inspired you to embrace this beautiful trend and explore the endless possibilities it offers. If you found this article helpful, feel free to leave a comment, share it with your friends, or check out our other articles for more nail art inspiration. Happy painting!