Table of Contents
- Introduction
- What is Crown Molding?
- Benefits of Adding Crown Molding to Cabinets
- Crown Molding on Cabinets: Before and After Inspiration
- Materials and Tools You’ll Need
- Step-by-Step Guide to Installing Crown Molding
- Common Mistakes to Avoid
- Cost Considerations for Crown Molding
- Maintenance Tips for Long-Lasting Results
- Conclusion
Introduction
Are you looking for a simple yet impactful way to elevate the appearance of your kitchen cabinets? Crown molding is a timeless design feature that can transform the look of your cabinets, adding elegance and sophistication to your space. Whether you're renovating your kitchen or simply refreshing its aesthetic, installing crown molding on cabinets is a cost-effective way to achieve a high-end finish. This article will guide you through the process, benefits, and stunning before-and-after results of adding crown molding to your cabinets.
Many homeowners overlook the potential of crown molding, thinking it's only suitable for ceilings. However, when applied to cabinets, it creates a seamless transition between the cabinets and the ceiling, making the room feel taller and more cohesive. Crown molding can also hide imperfections, such as gaps or uneven surfaces, while enhancing the overall architectural appeal of your kitchen.
In this comprehensive guide, we’ll explore the transformative power of crown molding on cabinets, provide practical tips for installation, and showcase inspiring before-and-after examples. Whether you’re a DIY enthusiast or planning to hire a professional, this article will equip you with the knowledge you need to make informed decisions.
Read also:The Untold Story Of Ralph Woolfolks Wife
What is Crown Molding?
Crown molding is a decorative trim installed at the intersection of walls and ceilings or, in this case, at the top of cabinets. It is designed to add visual interest and create a polished, finished look. Crown molding comes in various styles, sizes, and materials, allowing homeowners to customize their spaces to match their design preferences.
Traditionally, crown molding has been used in formal spaces like living rooms and dining rooms. However, its versatility has made it a popular choice for kitchens, especially when applied to cabinets. The molding can be painted to match the cabinets or contrasted for a bold statement, depending on your desired aesthetic.
Types of Crown Molding
- Wood Crown Molding: Offers a classic, timeless look and can be stained or painted.
- MDF (Medium-Density Fiberboard): A cost-effective alternative to wood, ideal for painting.
- Polyurethane Crown Molding: Lightweight and moisture-resistant, perfect for kitchens.
- Flexible Crown Molding: Ideal for curved or irregular surfaces.
Benefits of Adding Crown Molding to Cabinets
Adding crown molding to your cabinets offers numerous advantages, both aesthetic and functional. Here are some key benefits:
1. Enhanced Visual Appeal
Crown molding instantly elevates the look of your cabinets, making them appear more luxurious and custom-built. It adds depth and dimension to the room, creating a cohesive design that ties the kitchen together.
2. Increased Home Value
Investing in crown molding can increase the perceived value of your home. Potential buyers are often drawn to homes with attention to detail, and crown molding is a subtle yet impactful way to showcase craftsmanship.
3. Conceals Imperfections
If your cabinets have uneven edges or gaps between the ceiling, crown molding can effectively hide these imperfections. It provides a clean, finished appearance that enhances the overall look of the space.
Read also:Kelly Balthazar A Trailblazing Visionary In The Tech Industry
4. Versatility in Design
With a wide range of styles and finishes available, crown molding can be tailored to complement any kitchen design, from traditional to modern. You can choose a style that matches your existing decor or opt for a contrasting color to make a bold statement.
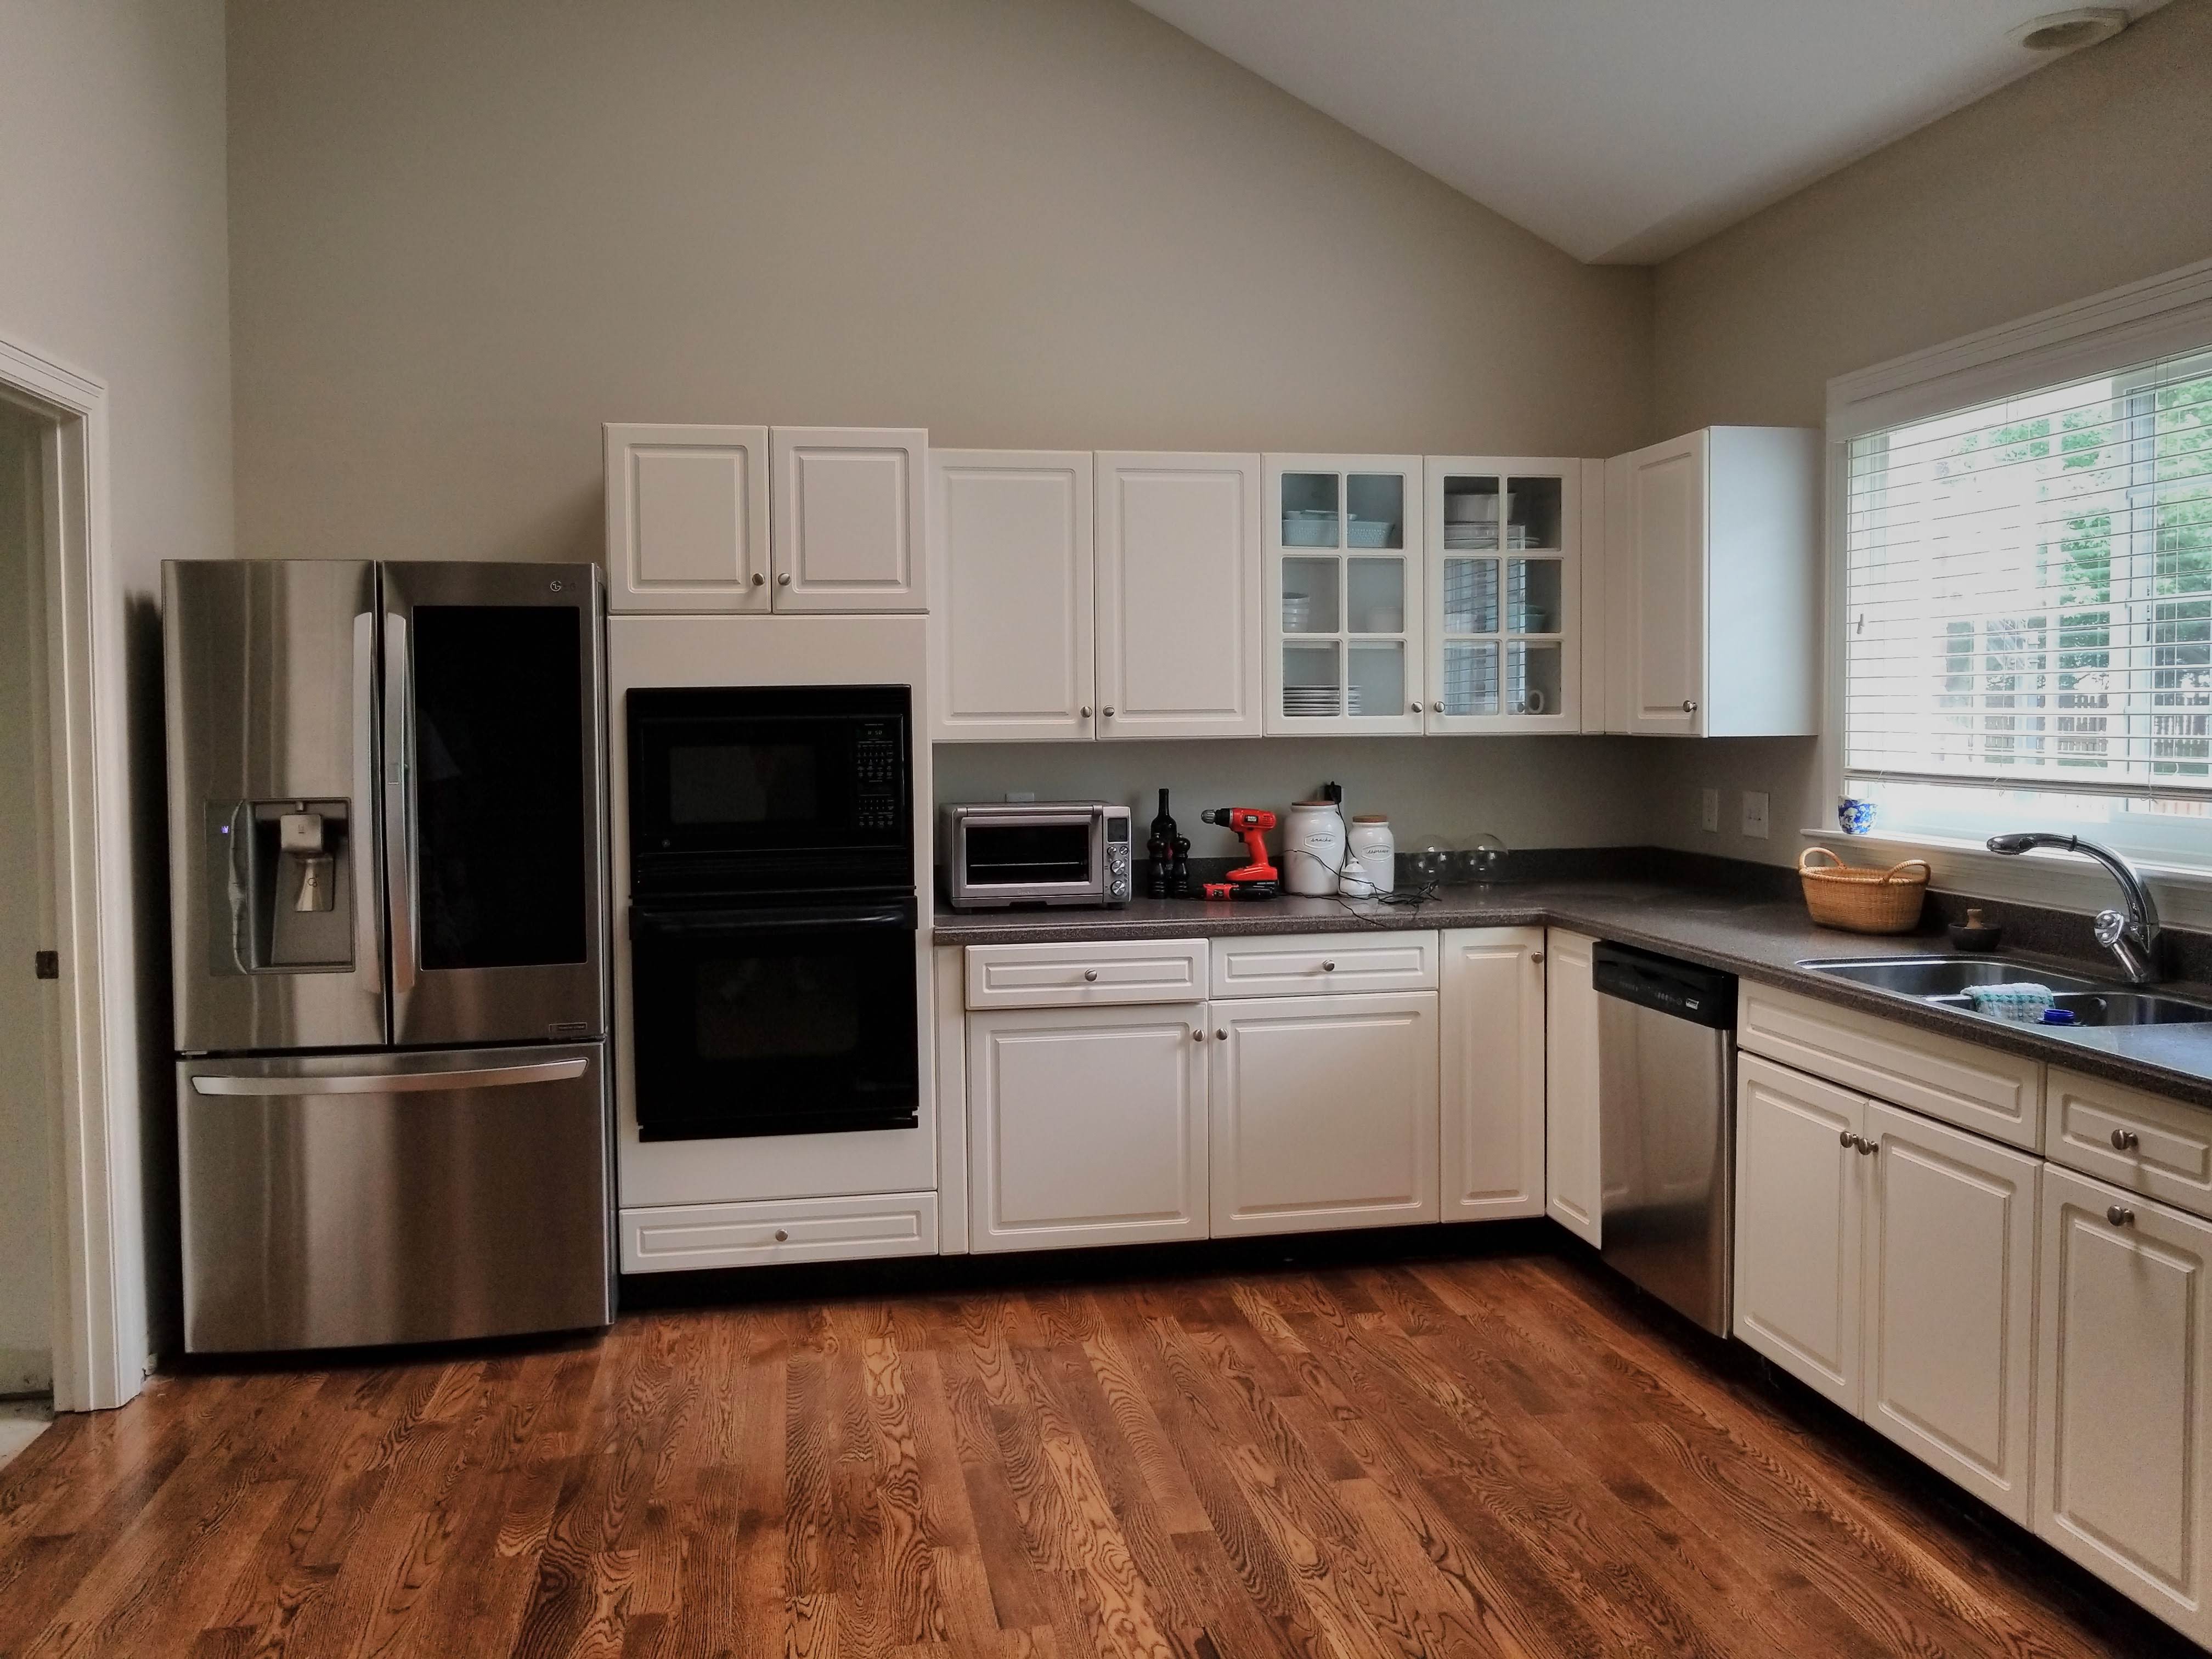
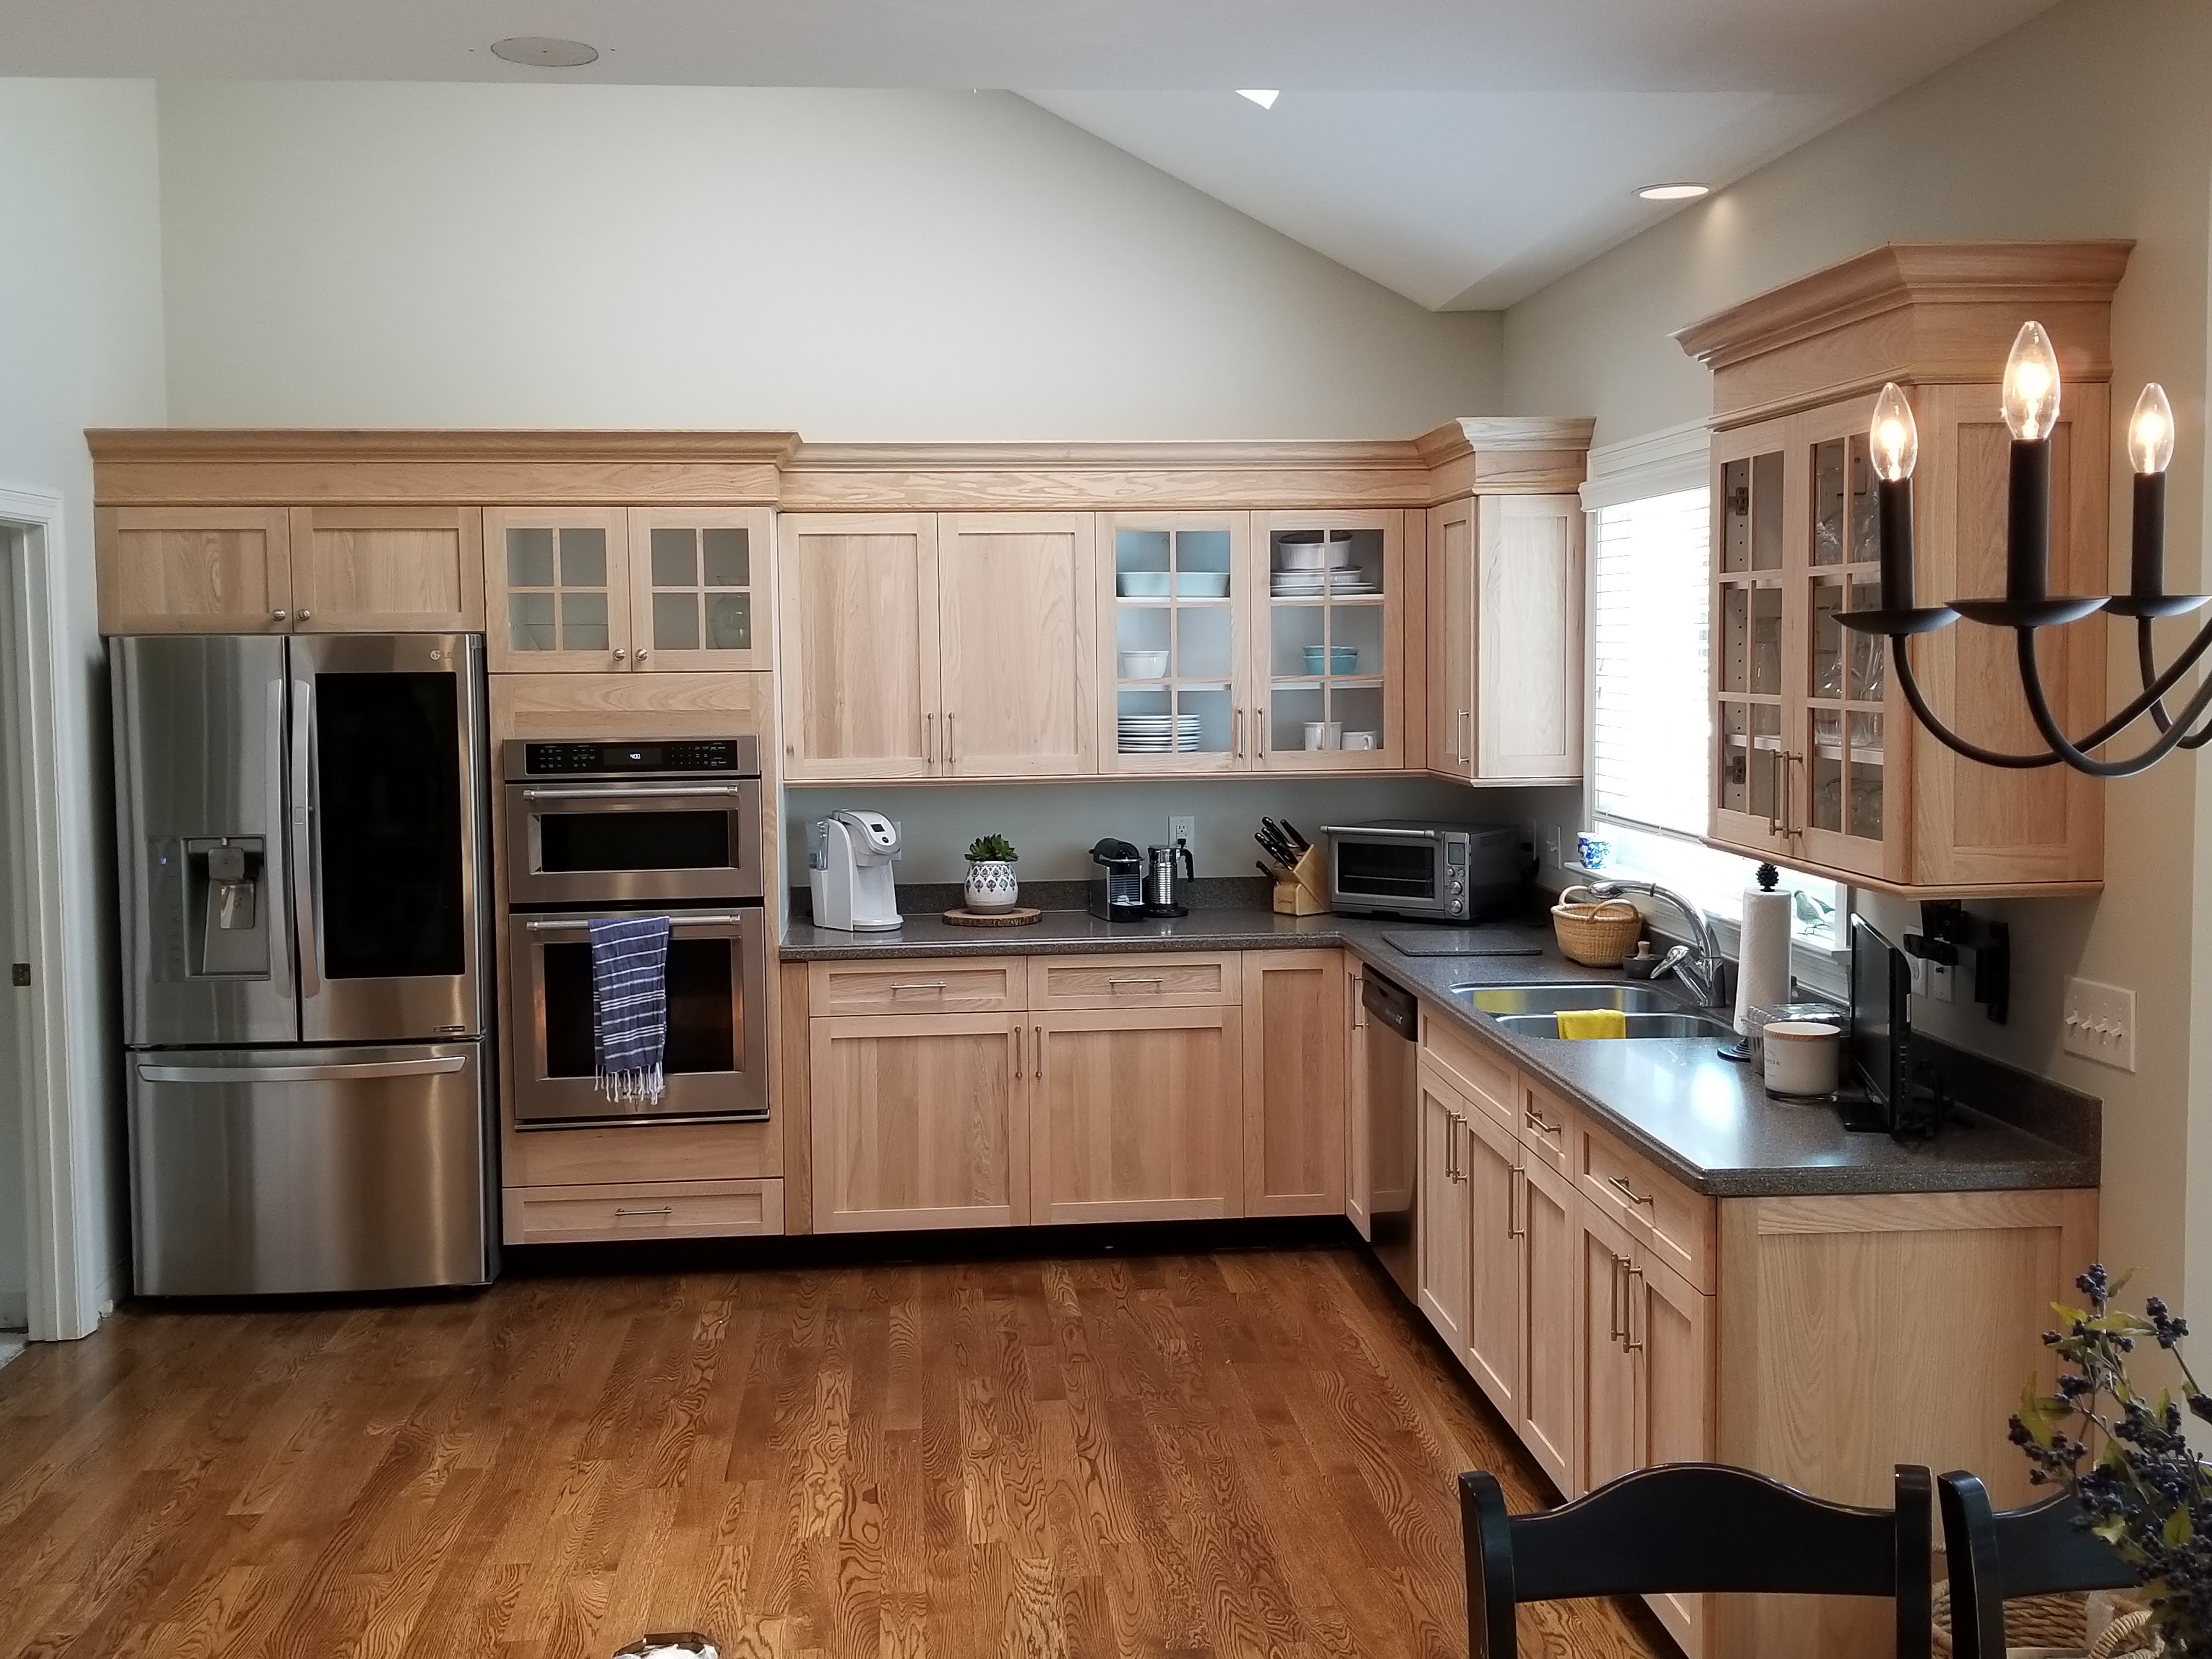
Crown Molding on Cabinets: Before and After Inspiration
One of the best ways to understand the transformative power of crown molding is by looking at real-life before-and-after examples. Below are some inspiring transformations that demonstrate how crown molding can enhance the appearance of kitchen cabinets.
Example 1: Modern Kitchen Upgrade
Before: A simple, flat-panel cabinet design with no decorative elements, making the kitchen feel plain and uninspired.
After: The addition of sleek, white crown molding creates a seamless transition to the ceiling, giving the kitchen a more polished and contemporary look.
Example 2: Traditional Elegance
Before: Dark wood cabinets with a dated appearance, lacking visual interest.
After: Crown molding in a complementary wood tone adds warmth and sophistication, transforming the kitchen into a timeless space.
Example 3: Bold Contrast
Before: Neutral-colored cabinets with a monotonous design.
After: Black crown molding contrasts beautifully with white cabinets, creating a striking visual impact.
Materials and Tools You’ll Need
Before starting your crown molding project, gather the necessary materials and tools to ensure a smooth installation process.
Materials
- Crown molding (wood, MDF, or polyurethane)
- Wood glue
- Nails or brad nails
- Paint or stain (optional)
- Caulk
Tools
- Miter saw or miter box
- Nail gun or hammer
- Measuring tape
- Level
- Sandpaper
- Paintbrush or sprayer
Step-by-Step Guide to Installing Crown Molding
Installing crown molding may seem daunting, but with the right preparation and tools, it’s a manageable DIY project. Follow these steps for a professional-looking finish.
Step 1: Measure and Plan
Begin by measuring the length of your cabinets to determine how much molding you’ll need. Add an extra 10-15% to account for cuts and mistakes. Plan the layout and decide whether you want the molding to wrap around the entire kitchen or just specific sections.
Step 2: Cut the Molding
Use a miter saw to cut the molding at the correct angles. For inside corners, cut at a 45-degree angle, and for outside corners, cut at a complementary angle. Test-fit the pieces before securing them in place.
Step 3: Attach the Molding
Apply wood glue to the back of the molding and press it against the cabinet. Secure it with nails or a nail gun, ensuring it’s level and flush with the cabinet surface.
Step 4: Fill Gaps and Sand
Use caulk to fill any gaps between the molding and the cabinets. Once dry, sand the surface for a smooth finish.
Step 5: Paint or Stain
Finish the project by painting or staining the molding to match your cabinets or create a contrasting effect.
Common Mistakes to Avoid
While installing crown molding is relatively straightforward, there are common pitfalls to watch out for:
- Incorrect Measurements: Double-check your measurements to avoid wasting materials.
- Poorly Aligned Cuts: Ensure your miter saw is calibrated correctly for precise cuts.
- Skipping the Level: Always use a level to ensure the molding is straight and even.
- Overlooking Caulk: Failing to fill gaps can result in an unfinished appearance.
Cost Considerations for Crown Molding
The cost of adding crown molding to your cabinets depends on several factors, including the material, size, and whether you hire a professional. Here’s a breakdown of potential costs:
- Material Costs: $2-$10 per linear foot for wood or MDF molding.
- Installation Costs: $5-$15 per linear foot if hiring a professional.
- DIY Savings: Opting for a DIY approach can save you labor costs, but ensure you have the necessary skills and tools.
For a typical kitchen, the total cost of materials and installation ranges from $200 to $1,000, depending on the complexity of the project.
Maintenance Tips for Long-Lasting Results
To ensure your crown molding remains in excellent condition, follow these maintenance tips:
- Clean the molding regularly with a damp cloth to remove dust and dirt.
- Avoid using harsh chemicals that could damage the finish.
- Touch up paint or caulk as needed to maintain a fresh appearance.
- Inspect for loose nails or gaps and address them promptly.
Conclusion
Crown molding on cabinets is a simple yet effective way to elevate the look of your kitchen. From enhancing visual appeal to increasing home value, the benefits of this design feature are undeniable. By following the step-by-step guide and avoiding common mistakes, you can achieve professional-quality results, whether you’re a DIY enthusiast or working with a professional.
For inspiration, browse through before-and-after examples to see the transformative power of crown molding. With proper maintenance, your investment will continue to enhance your space for years to come. Ready to take the next step? Start planning your crown molding project today and share your results with us in the comments below!